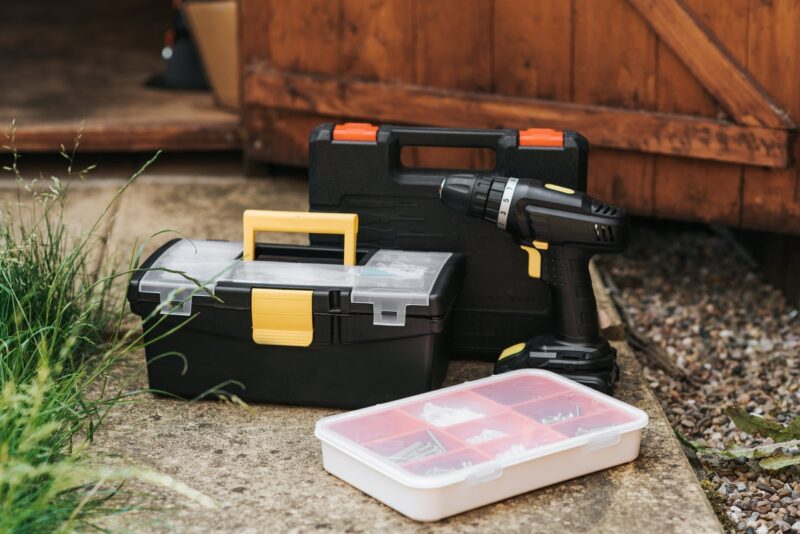
Dry lining is a popular way of putting up interior walls because of its simplicity and ease of application. In this process, a large plasterboard sheet is cut according to your wall’s dimensions and glued on with adhesives. Then, a joint filler is placed between sheets. You need the correct tools to help you carry out dry lining effectively, and below are some examples that should feature in your dry lining toolbox.
Utility knife
A utility knife is undoubtedly one of the most vital dry lining materials required for the job. This knife is necessary to score your plasterboard’s paper part when you measure your wall’s dimensions. It serves as a guide during the cutting process, making it more accurate. You can also use a pencil, but it can be harder to see, especially if you’re working under bright lights. When marking measurements on a small section, you can make two points across the board and connect them for a straighter line. However, if your sheet is too big, consider using a T-square to keep your line from skewing when you mark along your sheet’s entire length.
Electric screwdriver
You need an electric screwdriver, primarily if you wish to secure your sheet to a surface or frame. Nails can also be an option, although some can loosen during hammering and make your wall foundation weak. The right screw length when using an electric screwdriver is essential, so keep this in mind. If your screw is too short, it won’t pierce through your baseboard and into the surface. A screw that’s too long will also penetrate both surfaces and come out on the wall’s other side. Generally, the plasterboard and wall’s thickness are what should guide you when choosing the appropriate length for the job.
Scraper
Scrapers are used to remove any damaged or cracked plaster to prepare your wall for dry lining and give it a more delicate surface. It would be best if you had a scraper also to remove or add adhesive and level joint filler applications. Many experts advise having separate scrapers to avoid unintentionally mixing the chemicals, so keep this in mind. After applying your filler and taping the wall, flatten the tape with your scraper while pressing into the joint’s crease to ensure that the corner is sharper and any excess filler is squeezed out.
Adhesive and Tape
Adhesive and tape come in handy if you want to include insulating material for your drywall since you can use the adhesive to attach it. This process is commonly known as the “dot-and-dab” procedure, where your adhesive is dotted around the surface. These materials are also necessary if you find it challenging to screw on your plasterboard. You can apply filler in the gaps to bind the sheets after putting up all your walls. Several experts recommend using a layer of jointing tape afterwards for a cleaner finish and better wall support.
